During my flight from Boston to Los Angeles for my recent trip, I watched Peter Hurley’s tutorial entitled The Basic Headshot. It’s not your quick 5 minute YouTube video. Peter spends about two hours sharing the insights that lead to his great headshots (and allow him to charge $1100 for a shoot!). He pretty much offers the kitchen sink, so check it out when you have time.
I occasionally shoot headshots, since one of the cool benefits to knowing a comedian like Maria Ciampa is that she knows other comedians who just happen to need headshots. I have booked a couple of clients through her referrals (which is why I treated her to fine feast at Roscoe’s House of Chicken and Waffles during my visit). This past weekend I produced headshots for another comedian she referred, Christa Weiss, and I took this opportunity to practice a few of the techniques that I learned from Peter’s video.
Get Close
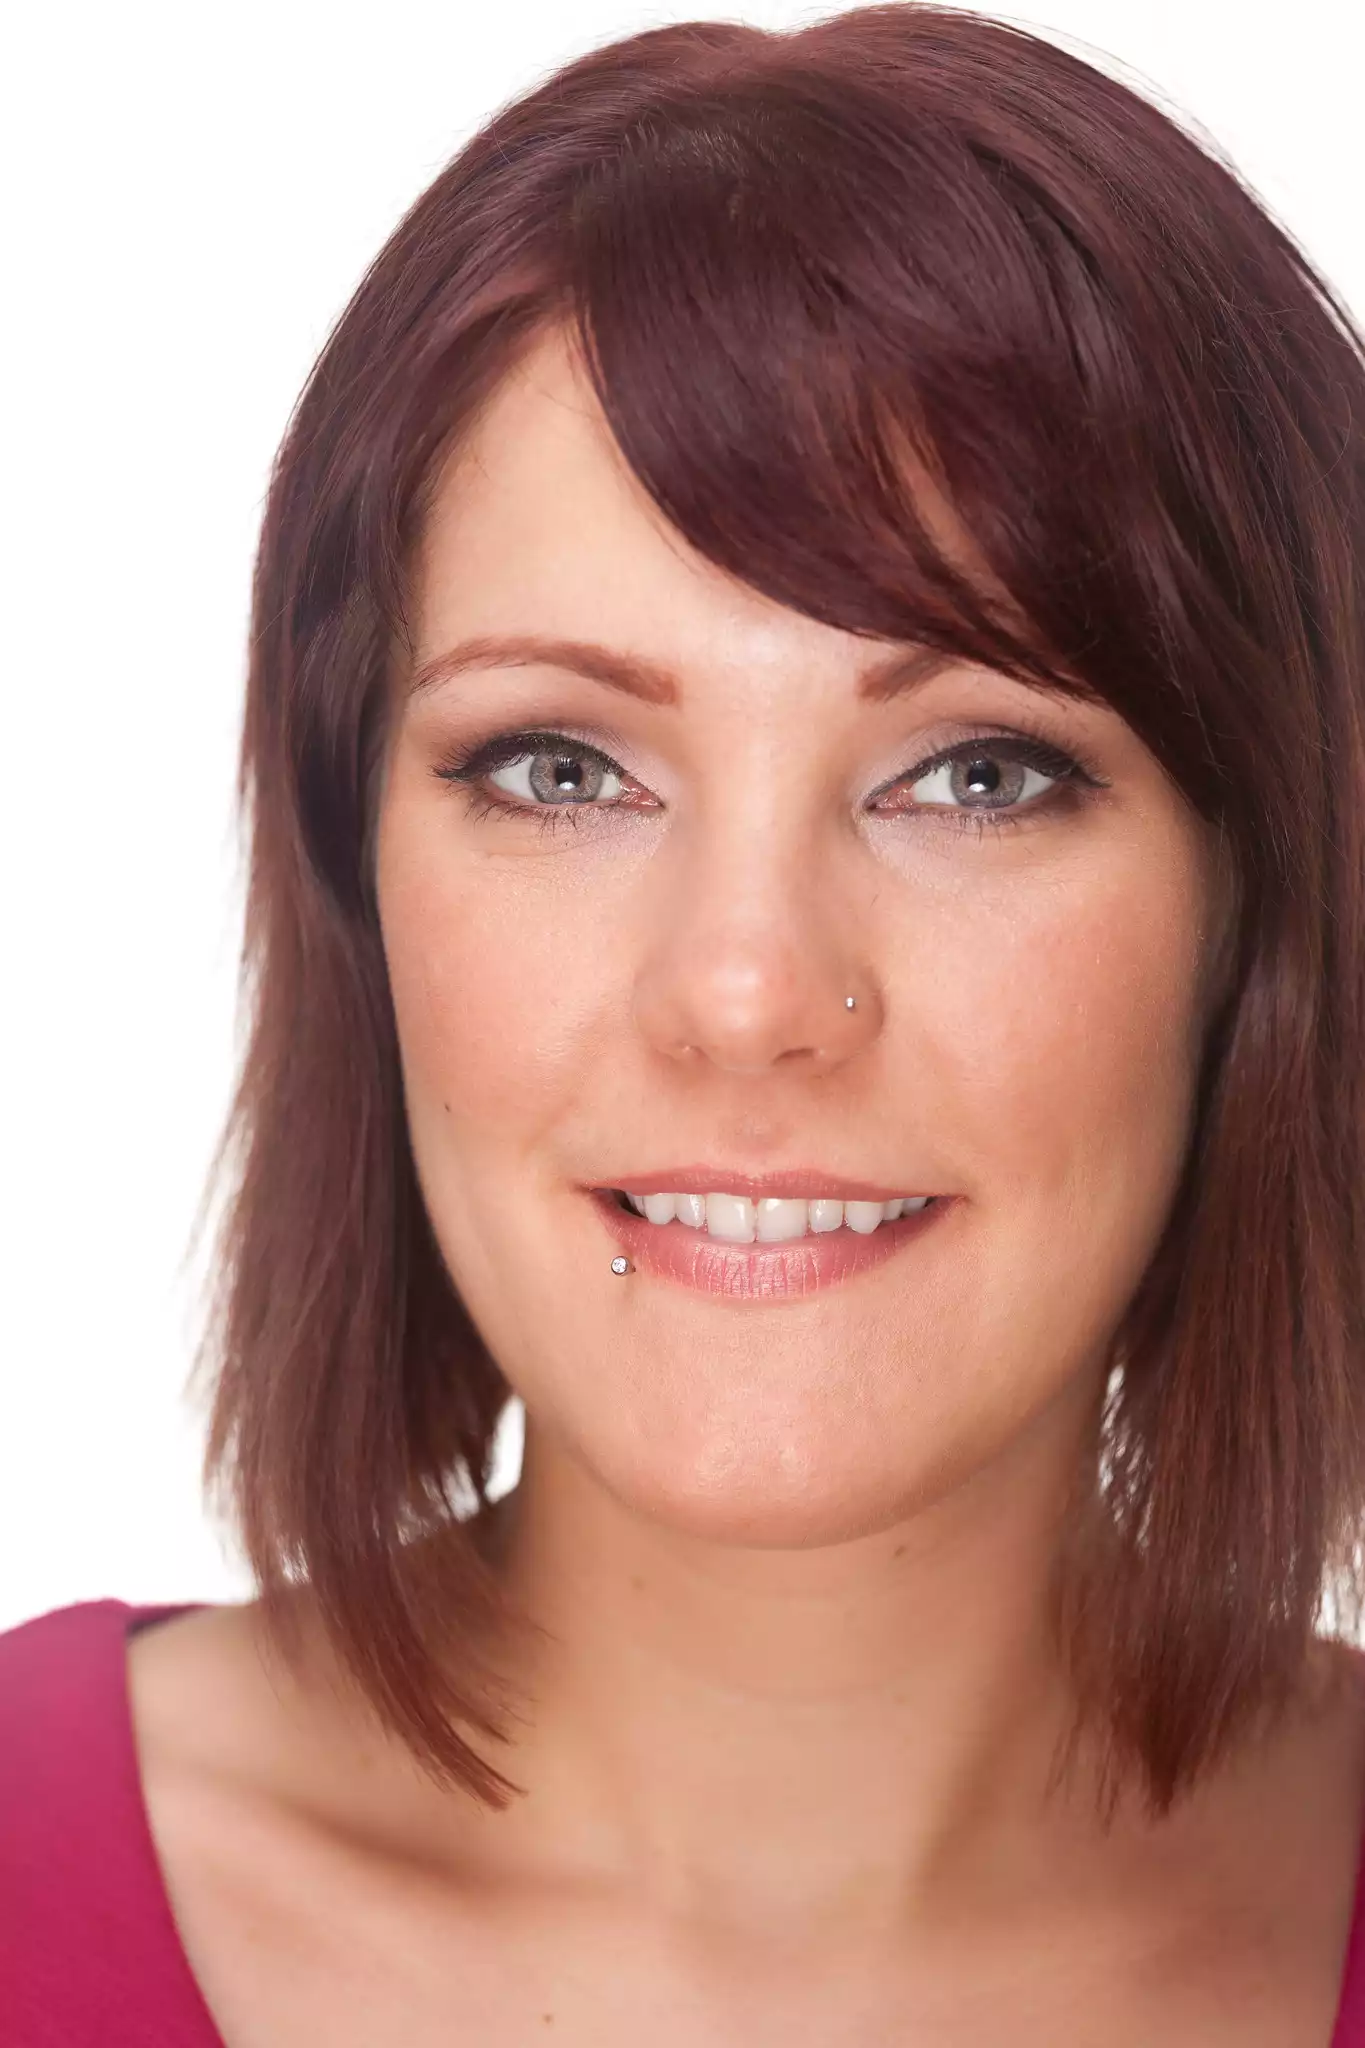
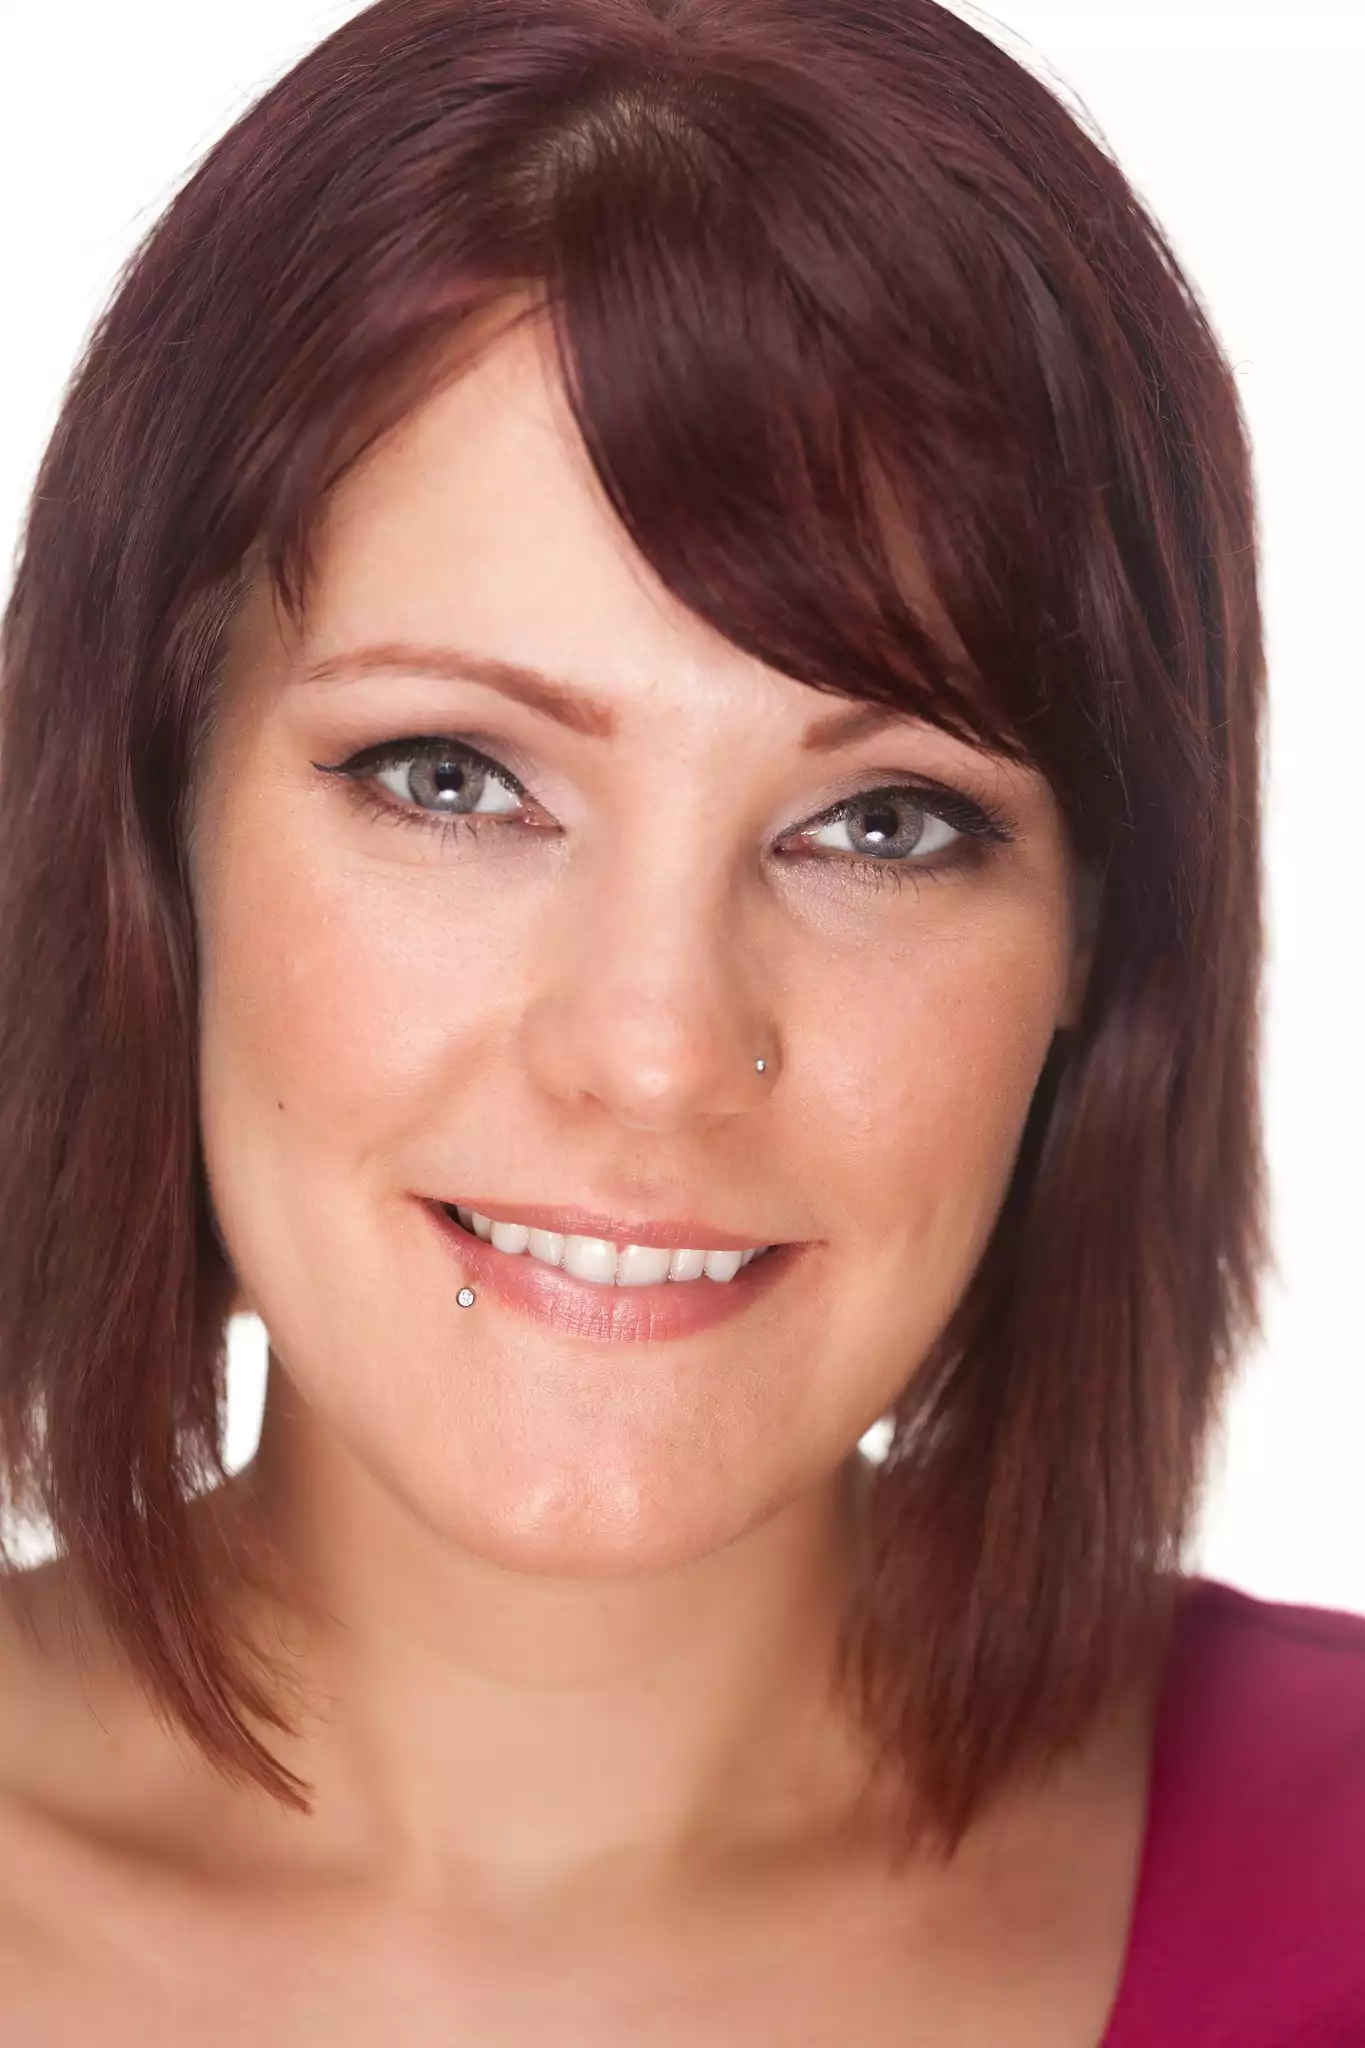
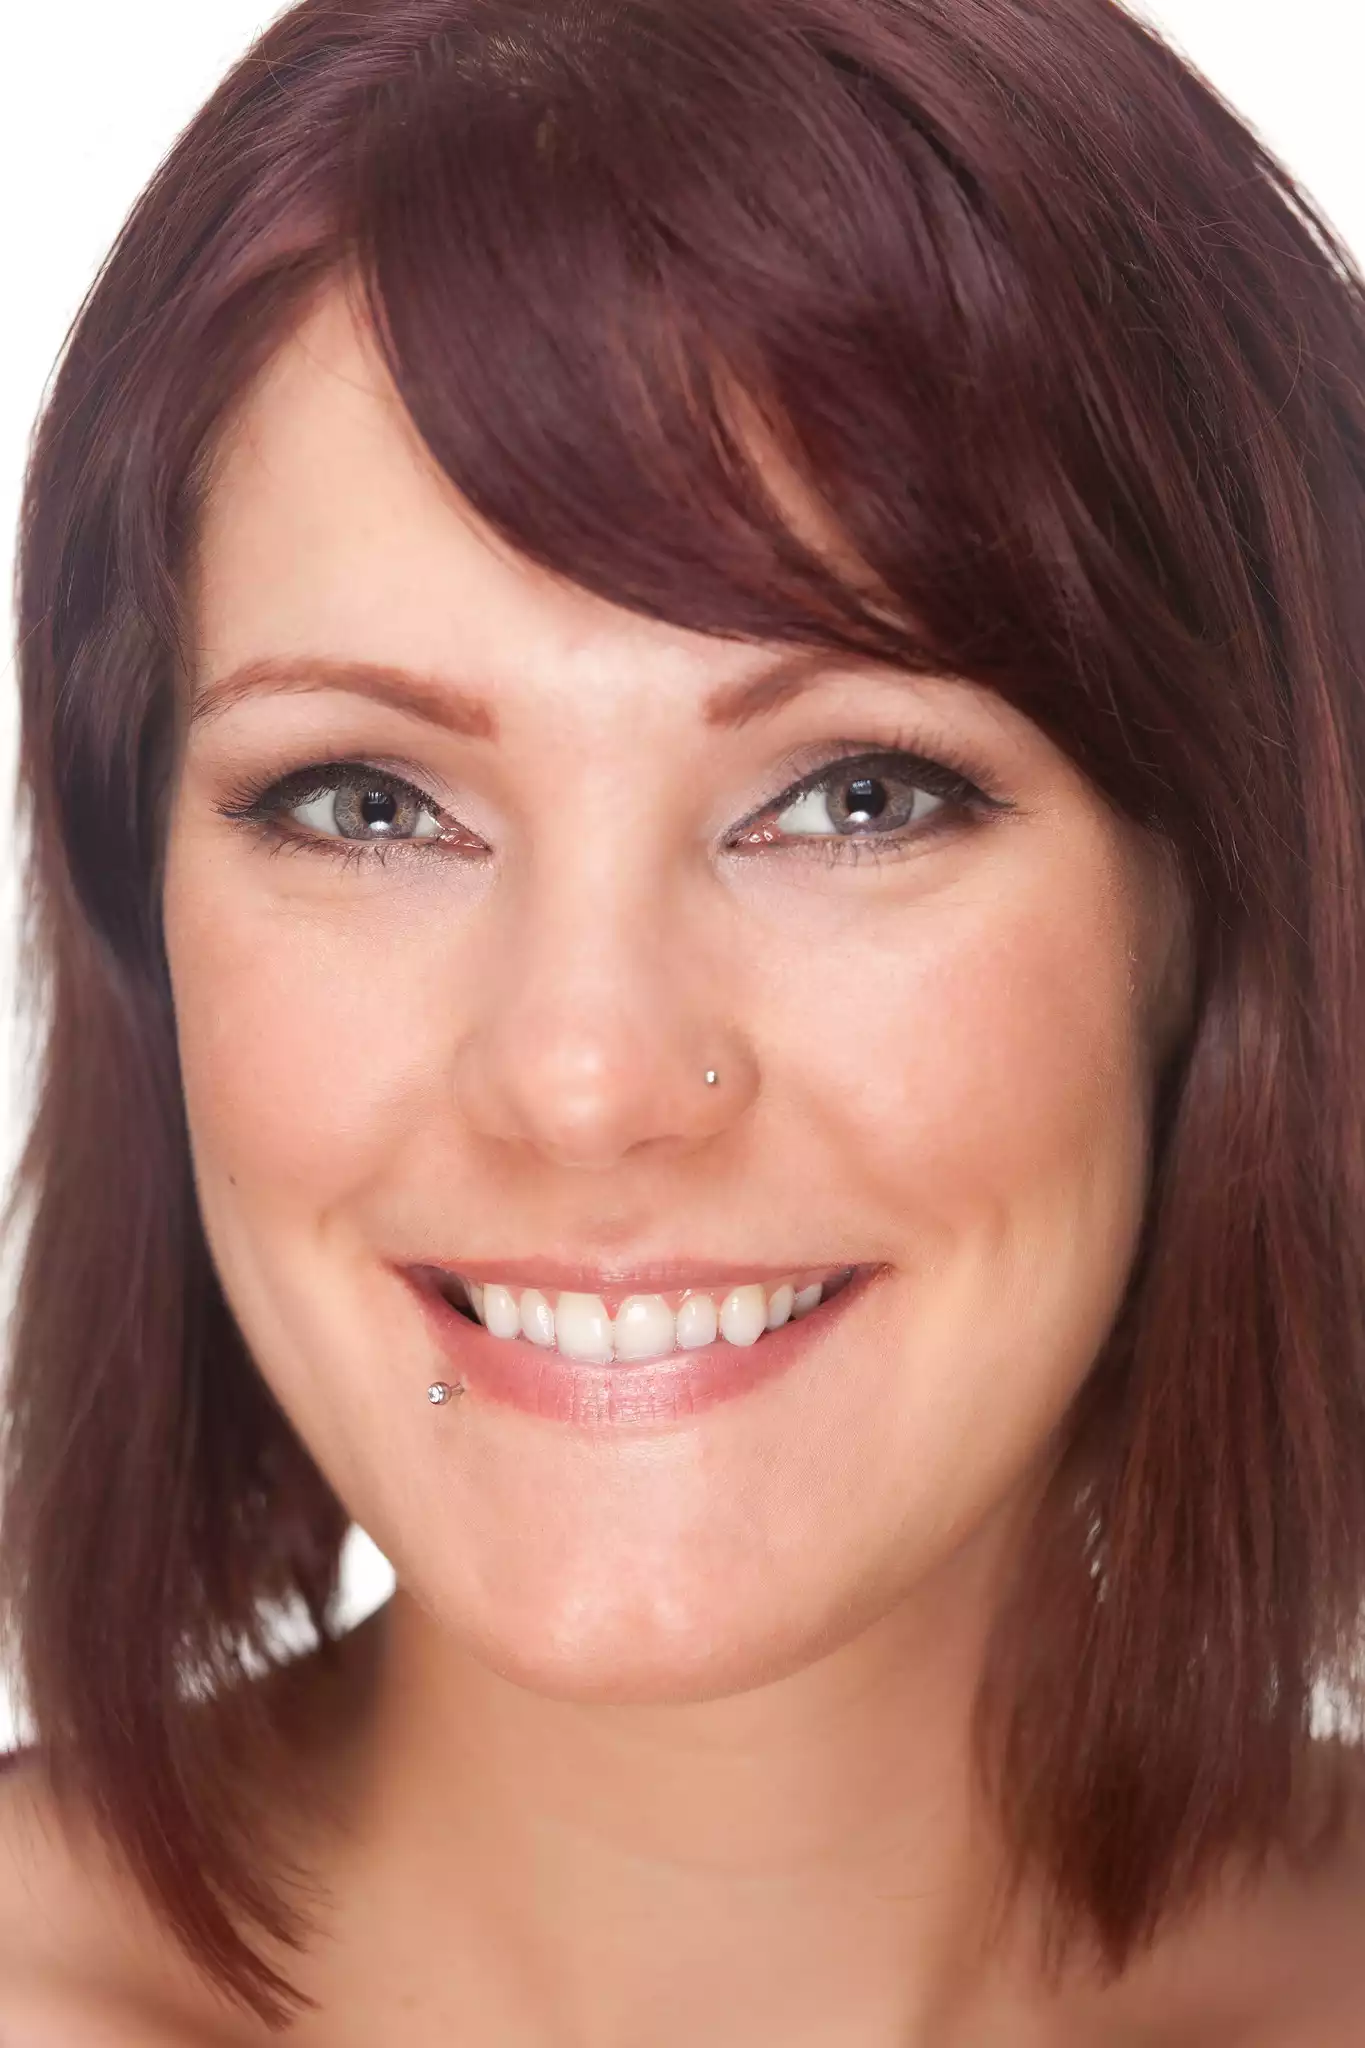
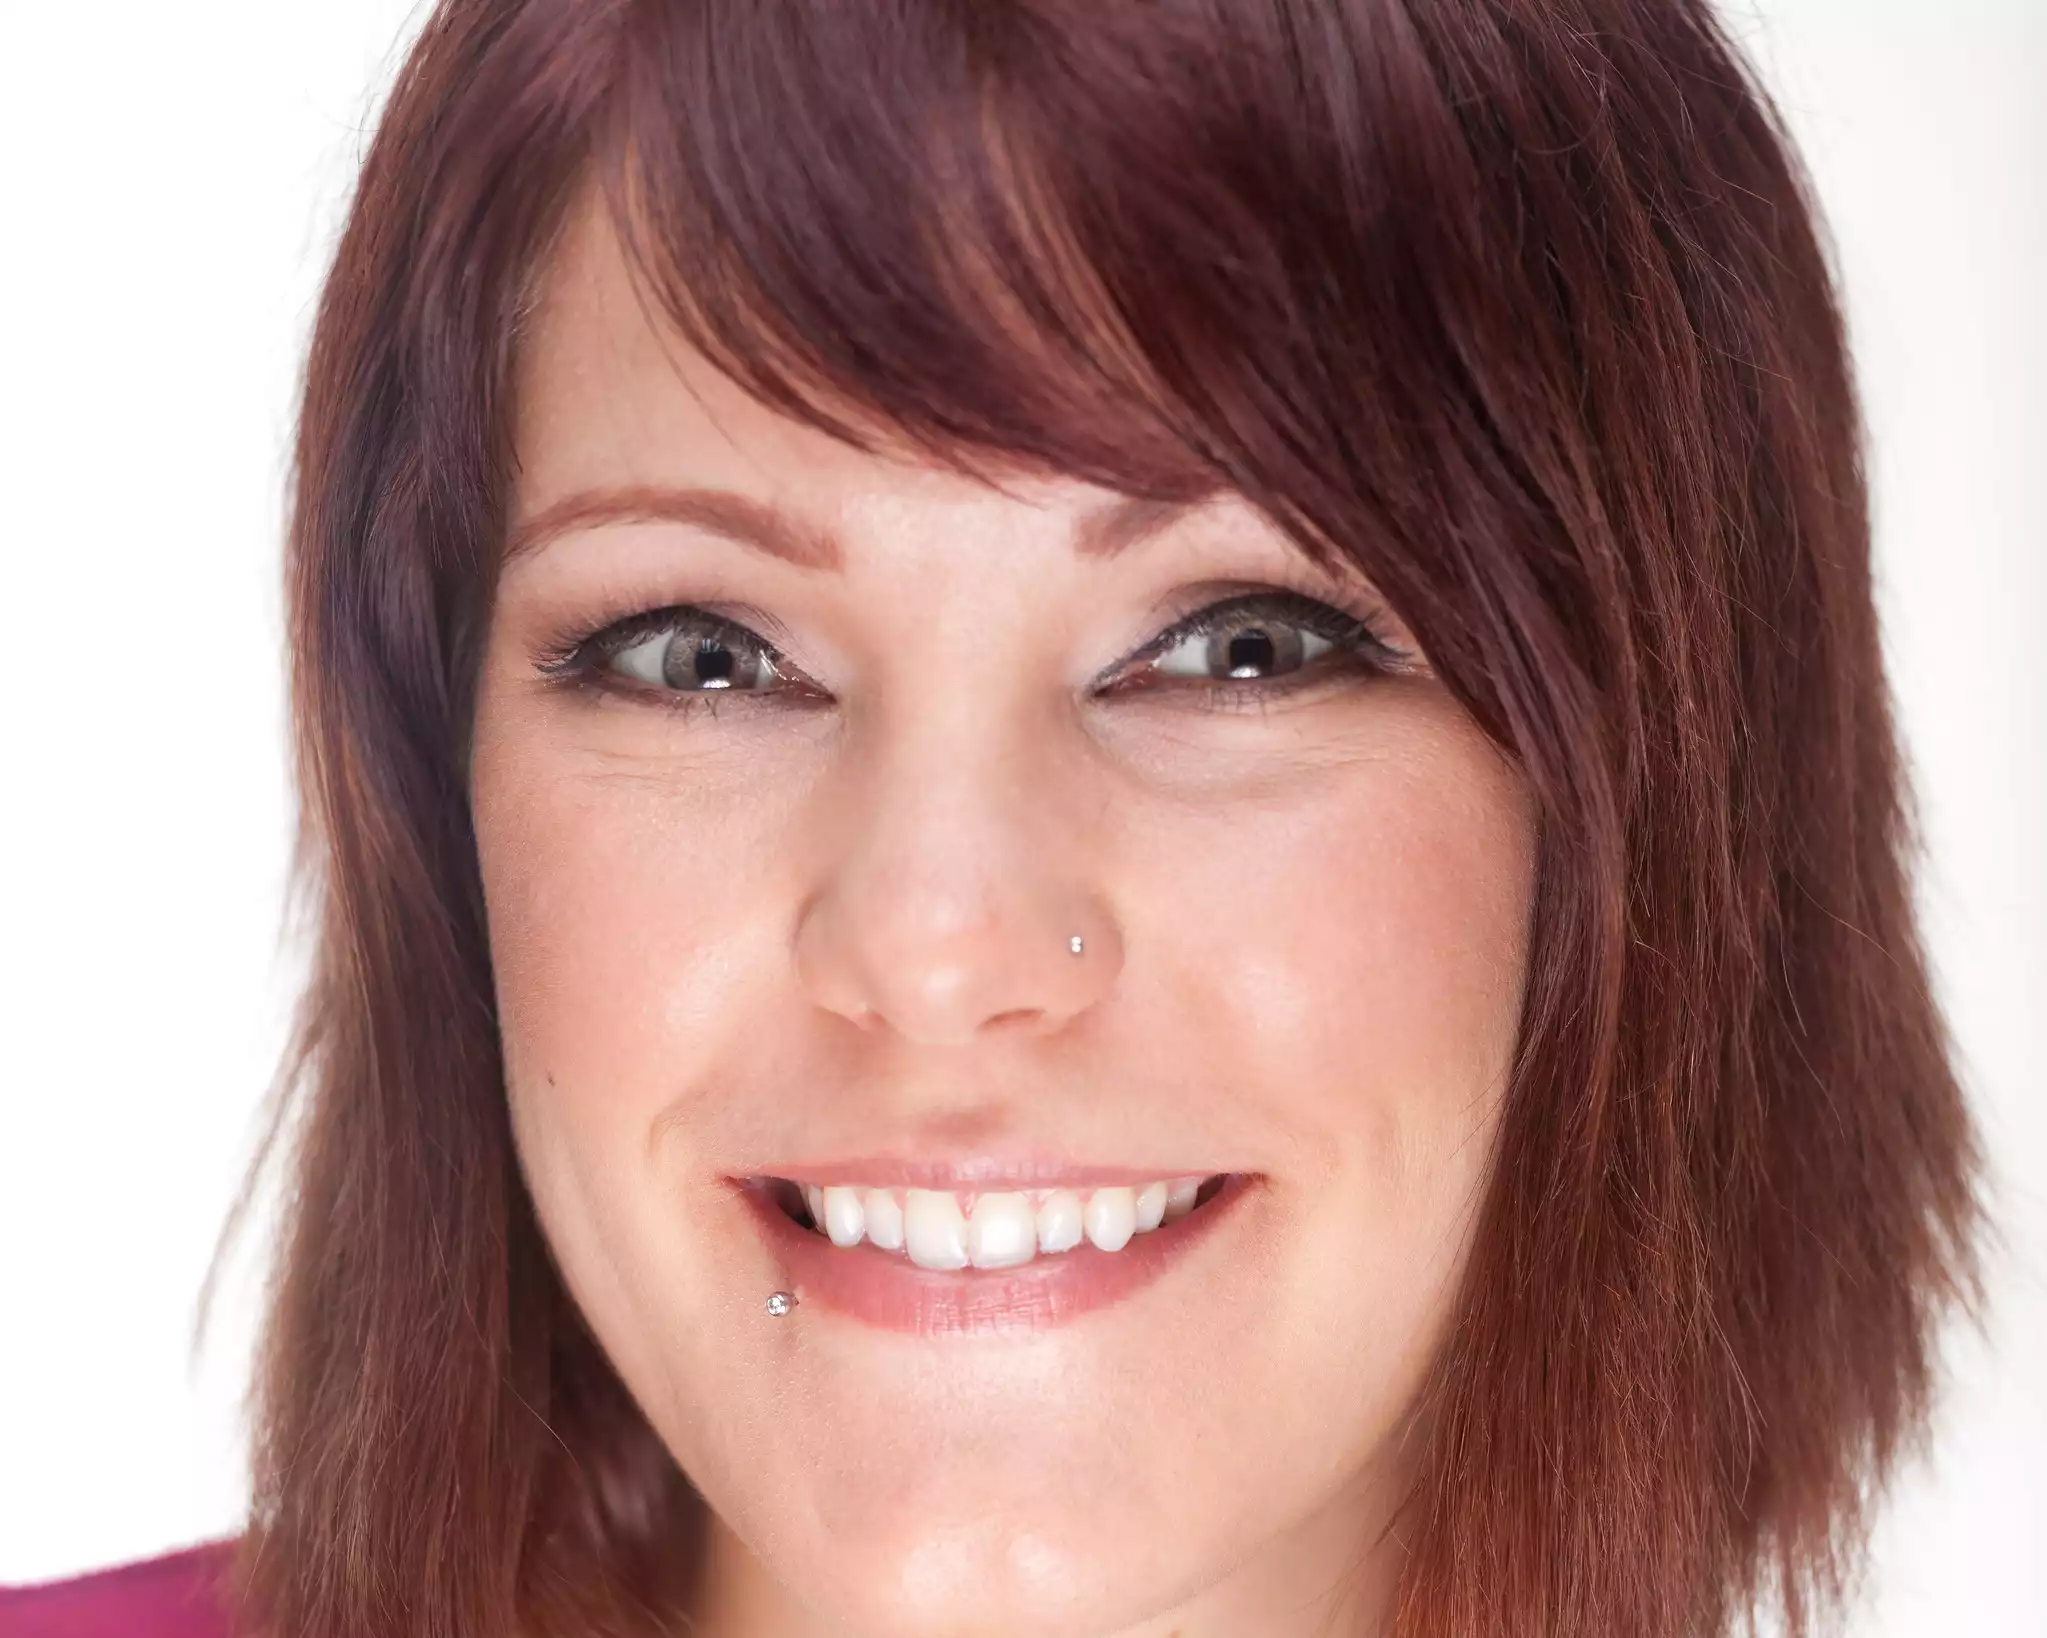
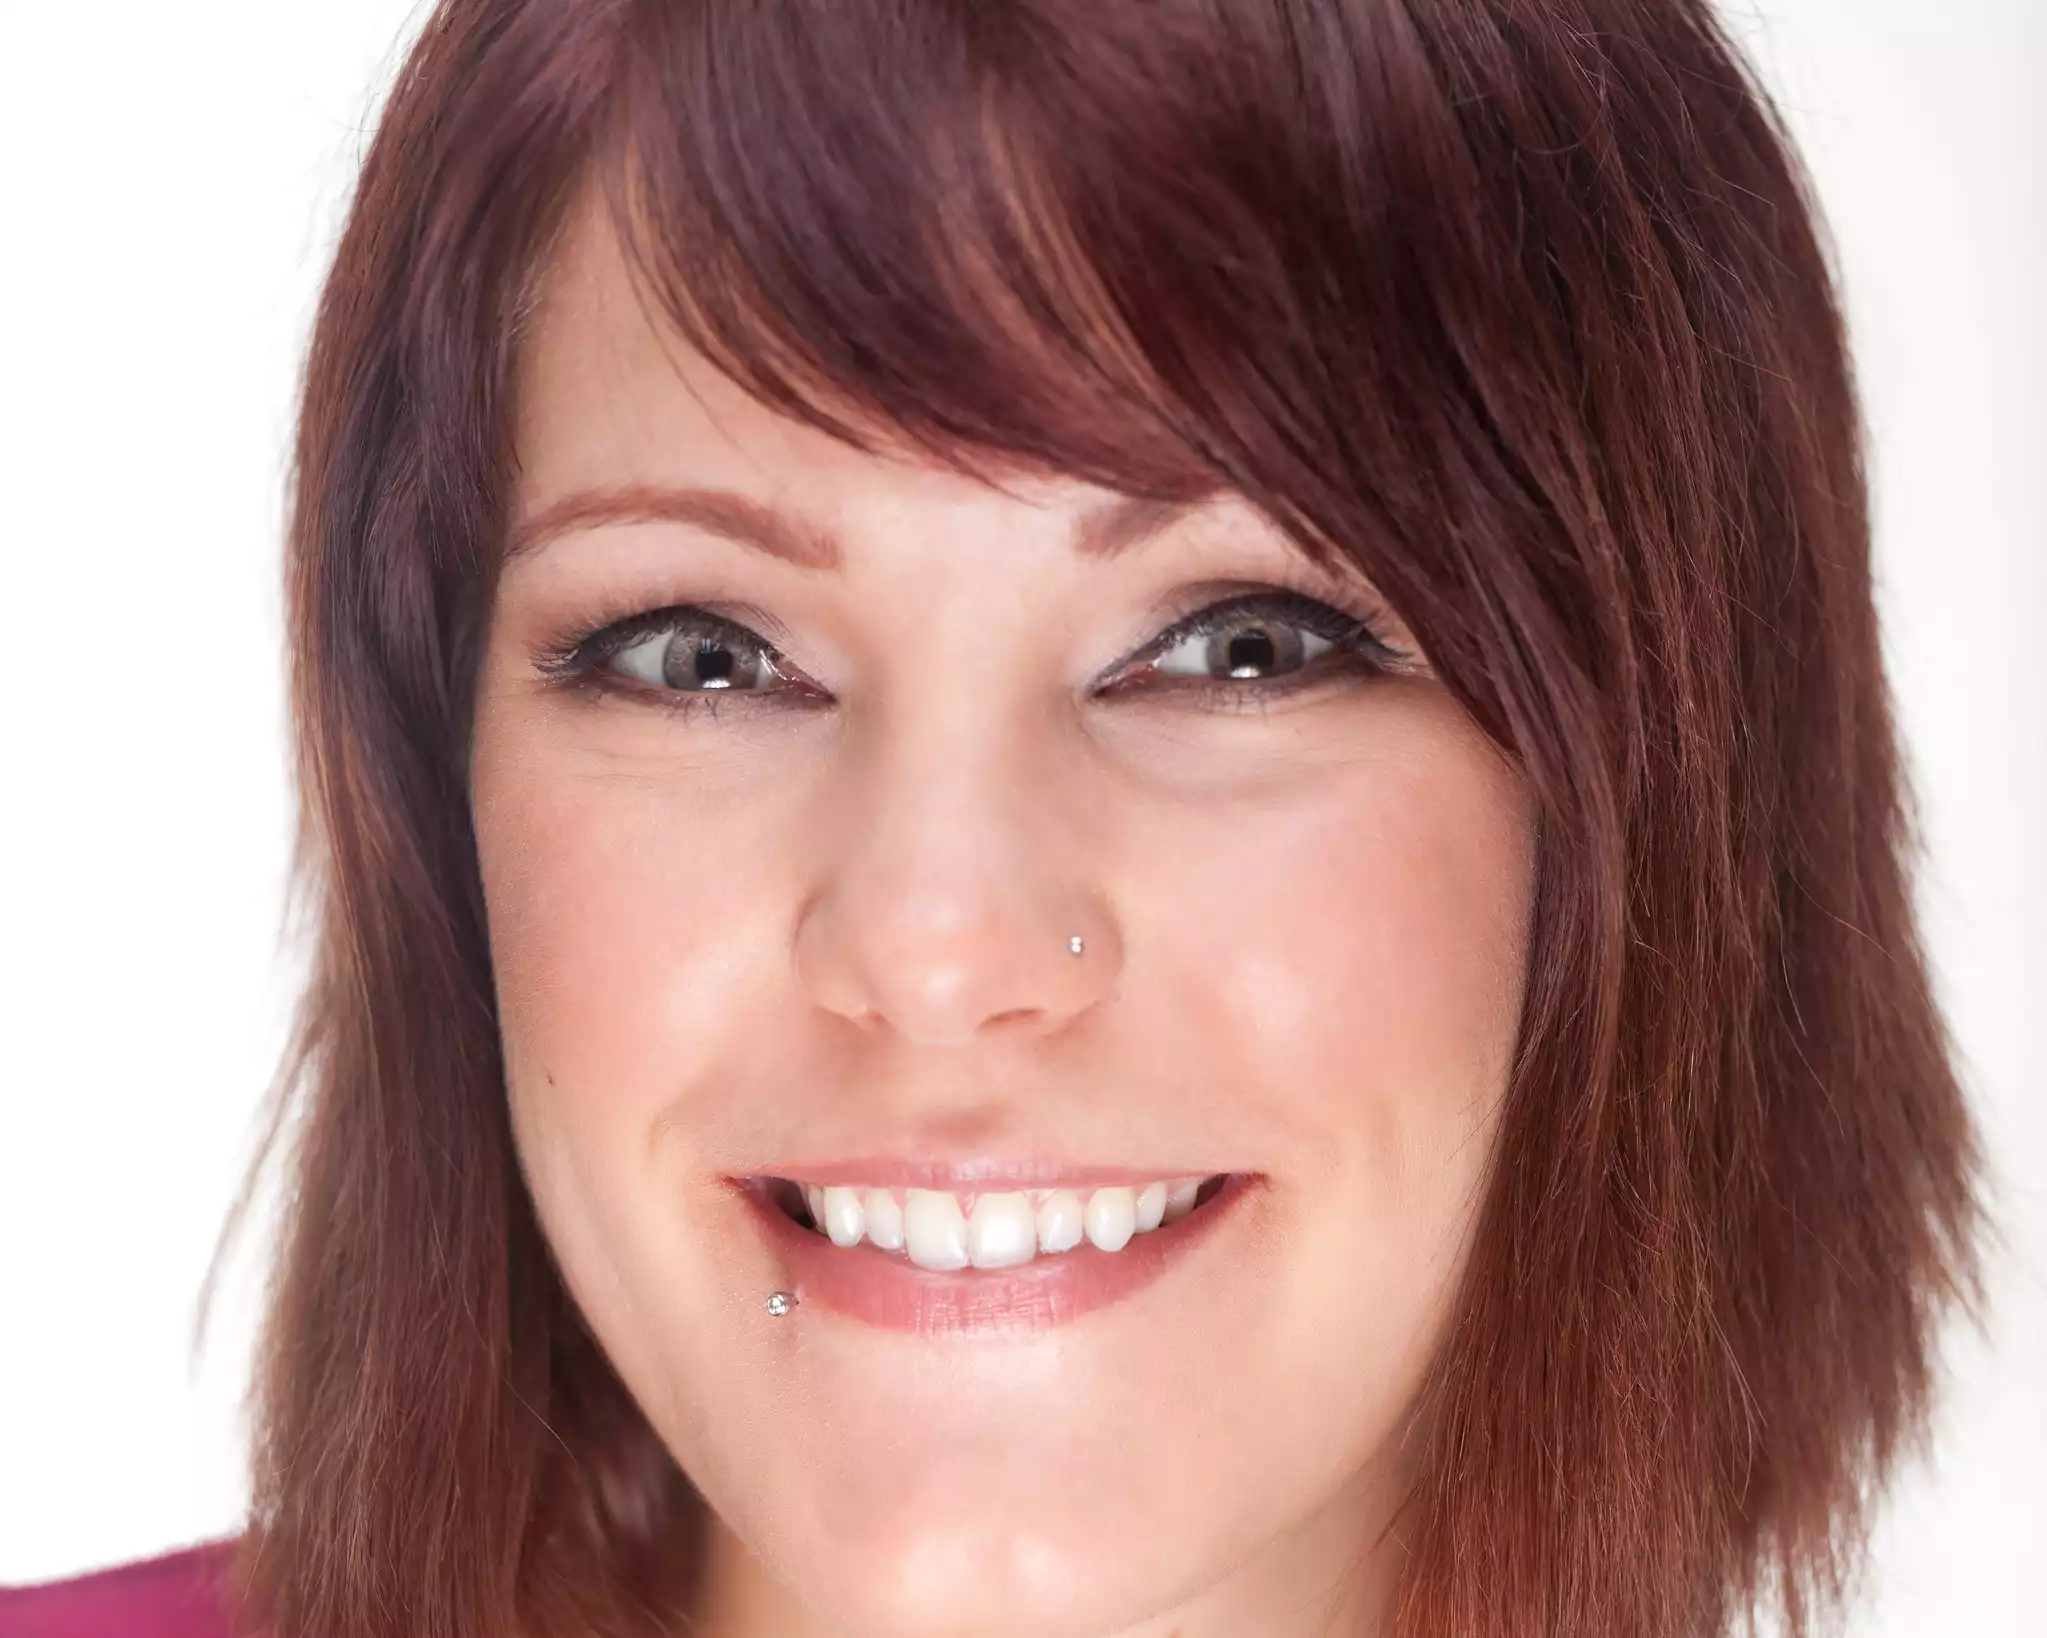
Peter’s shots are pretty tight on the face (It’s a headshot, duh!). In fact he shoots so close that he typically crops out the top of the subject’s head. In the past I have framed my shots from the top of the head to the top of the chest. My clients have always been happy, but I was never excited by the end product. After changing the cropping I noticed a few things. Filling the frame with the face, and nothing more, allows the viewer to focus on the subject’s physical features and personality. There is very little clothing to distract the viewer. All you have are eyes–which really pop–and a smile.
The S Word
Speaking of smiles, never use the ‘s-word’. I actually learned this early on when I started shooting. I like for my shoots to be personable, so I treat my clients as I would a friend. We chat and joke, and in doing so we both get more relaxed and have a good time. More importantly, as the client laughs at my corny jokes, she is producing a natural smile.
It’s the Lighting, Stupid!
The most important takeaway from Peter’s talk was in regards to lighting. Peter uses what I’ll call frame lighting. (If you know the name for his setup, let me know.) Basically, four strip lights from a square frame around the subject so that she is evenly lit from all sides. A strobe placed behind the subject and aimed at a backdrop produces a pure white background.
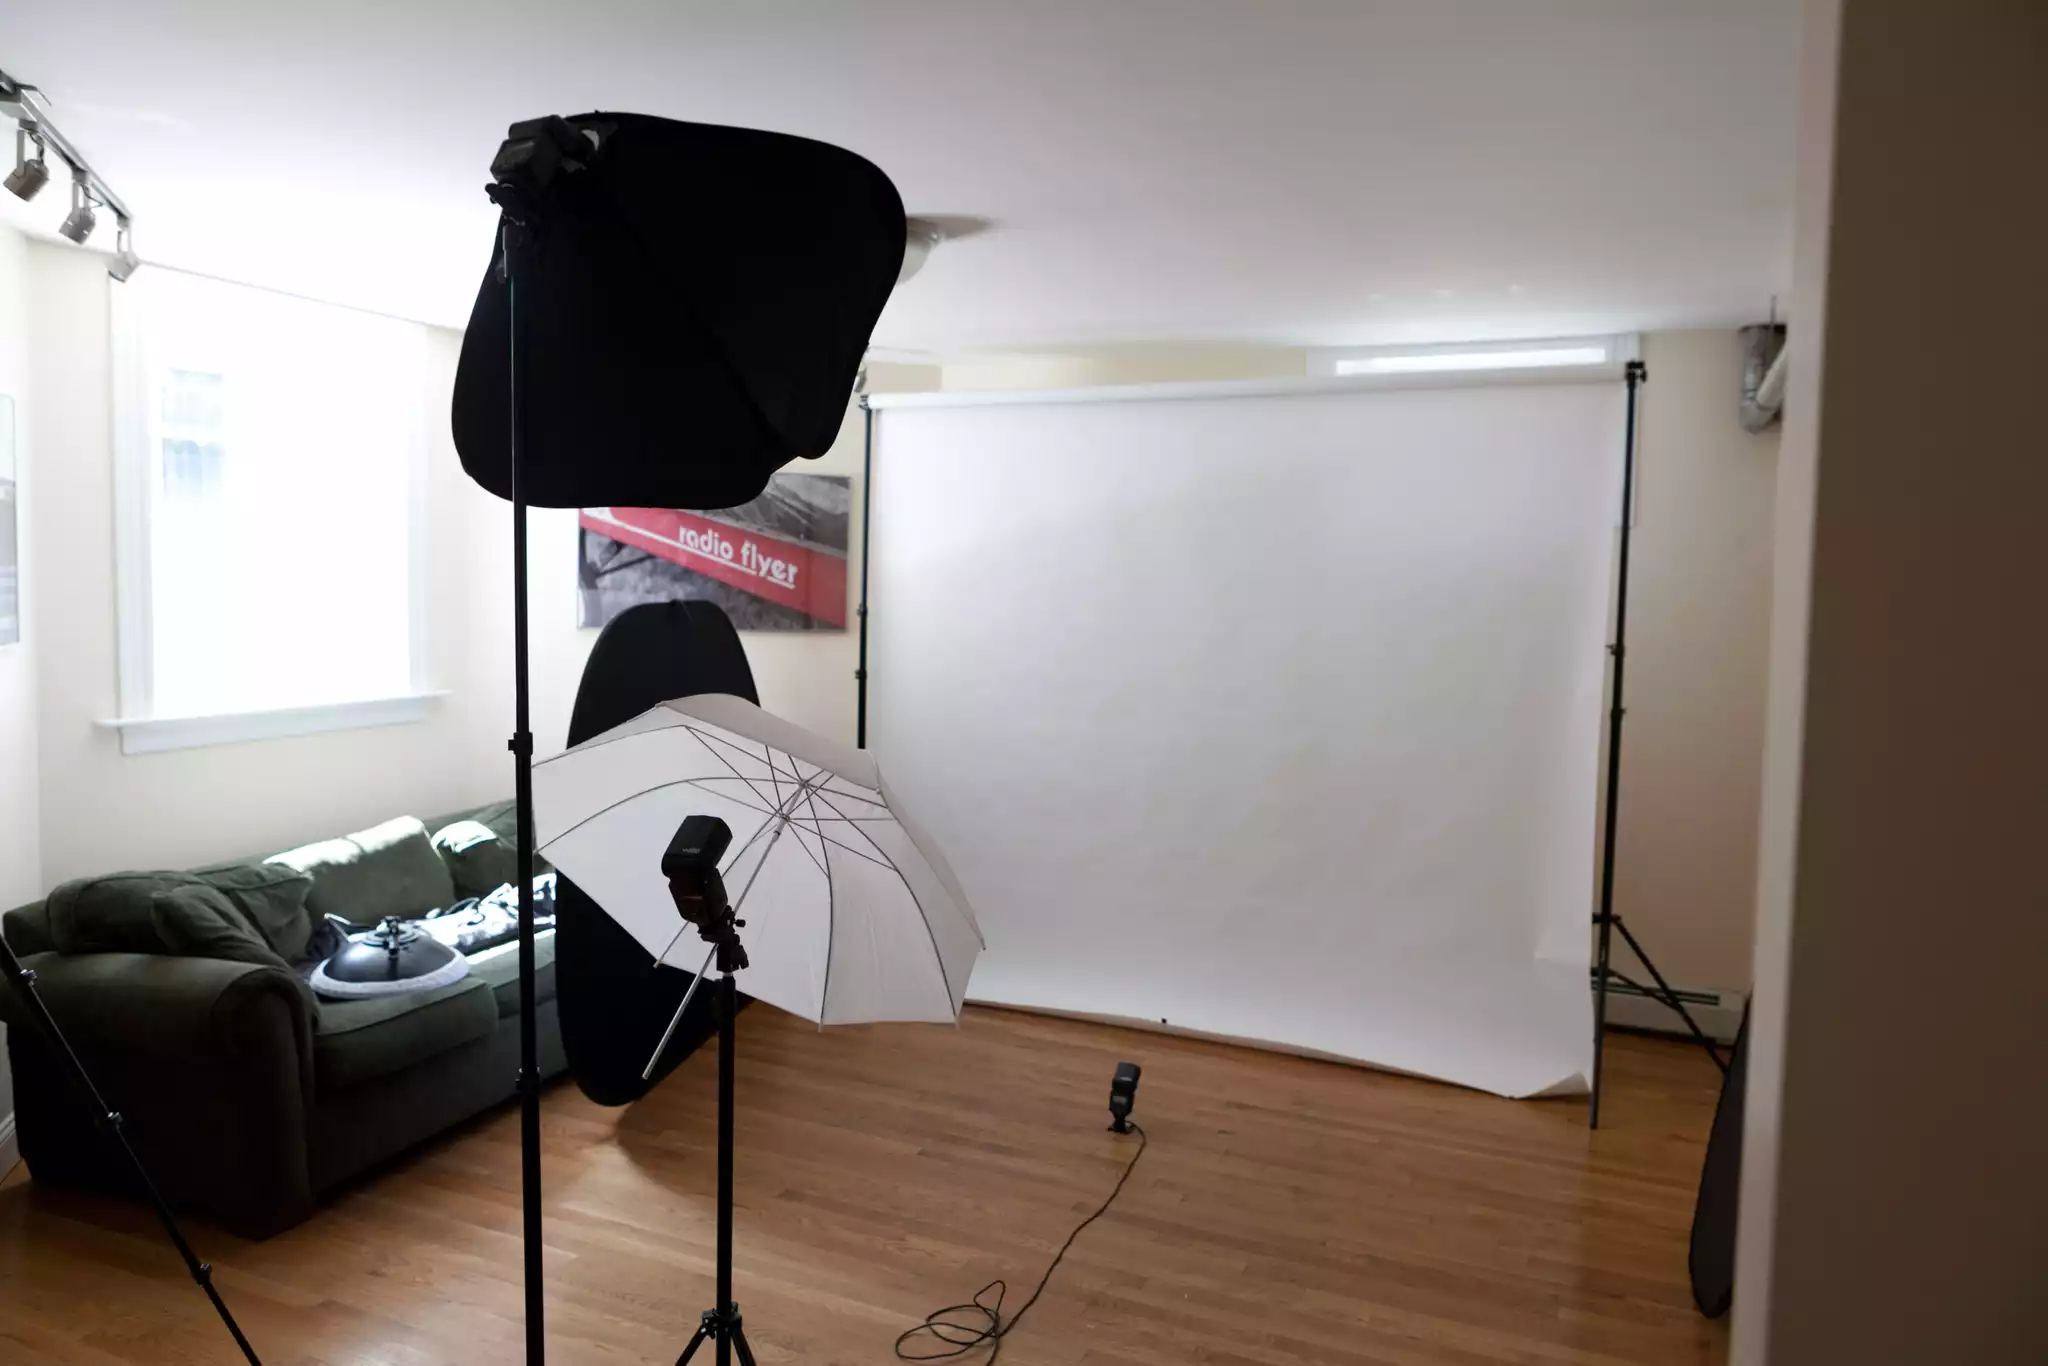
This lighting setup is really nice and provides the right amount of light on the subject with little-to-no moody shadows. My light kit only includes three speedlites, so I tried out the clamshell lighting technique that I first read about in Syl Arena’s Speedliter’s Handbook: Learning to Craft Light with Canon Speedlites. This setup utilizes two soft boxes–or a soft box and shoot-through umbrella, in my case–positioned above and below the subject. The camera peaks through a gap between the two soft boxes.
I used an umbrella in lieu of the second soft box. I stood pretty close to the two lights and poked my 70-200 (on the table in the background) right between the two. The 430EX II on the ground is connected to my camera with a 25-foot ETTL cable. This flash acts as a master to trigger to two flashes in the soft box and umbrella.
Here are the results. As usual, makeup was provided by Torrie Arquette.
I am really excited about the results! More importantly, Christa is excited and has already started using some of the
shots. I will definitely be making more use of this setup in the future and sharing more of the results here on the
blog.
More Peter Hurley Resources
- Peter Hurley’s Website
- The Basic Headshot (Same video as above.)
- Fstoppers Original: Peter Hurley shows How To Photograph Headshots (Another great instructional video.)


